Sinclair Patterns recently released a new woven pattern, the Poppy easy fitting pants. I participated in the pattern testing and here I will tell you why I strongly suggest this pattern.

Poppy is relaxed fitting, and tapers down. There are two length variations: full and Capri. The full length has an additional finish with cuffs.

It’s summer here so I made Capris. There are many pictures on Sinclair’s website to demonstrate the full length style too if that’s what you are interested.
The pattern
My evaluation of a pattern prioritize aesthetic and function over the drafting. Drafting standard rarely change within a brand so you don’t need to read a review about it anymore – Sinclair drafting is excellent, easy to use and easy to grade across sizes, although I didn’t need to.
The aesthetic of pants, especially the basic ones, really depends on what you need, or what you want. I personally like pants that make me look slim or feminine. I like some other categories too like cargo or cool pants, but no to stiff baggy ones. Poppy fits my preference very well. I think it looks good and casual.
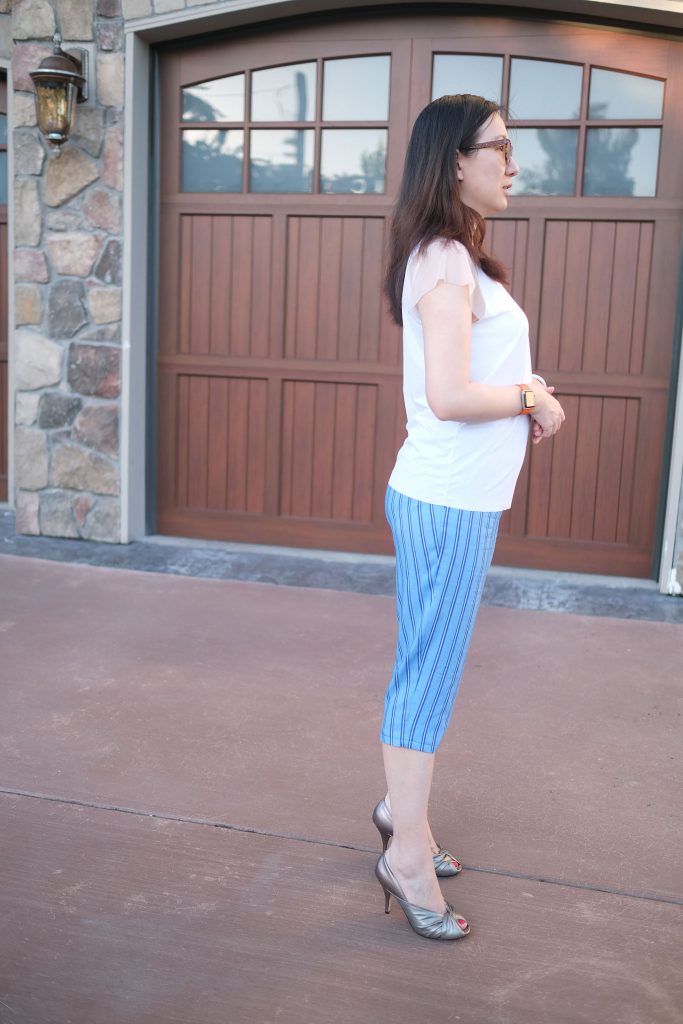
My thin summer fabrics tend to be woven. But before Poppy, I rarely made woven pants, because after the lockdown, I really enjoy pull-on pants. I’d like to avoid zippers and buttons if possible. Once I made a pull-on pair with stretched woven fabric, following a pattern meant for knits. That pair was much slimmer than Poppy, and looked great too, until very soon the side seam at the waist torn apart.
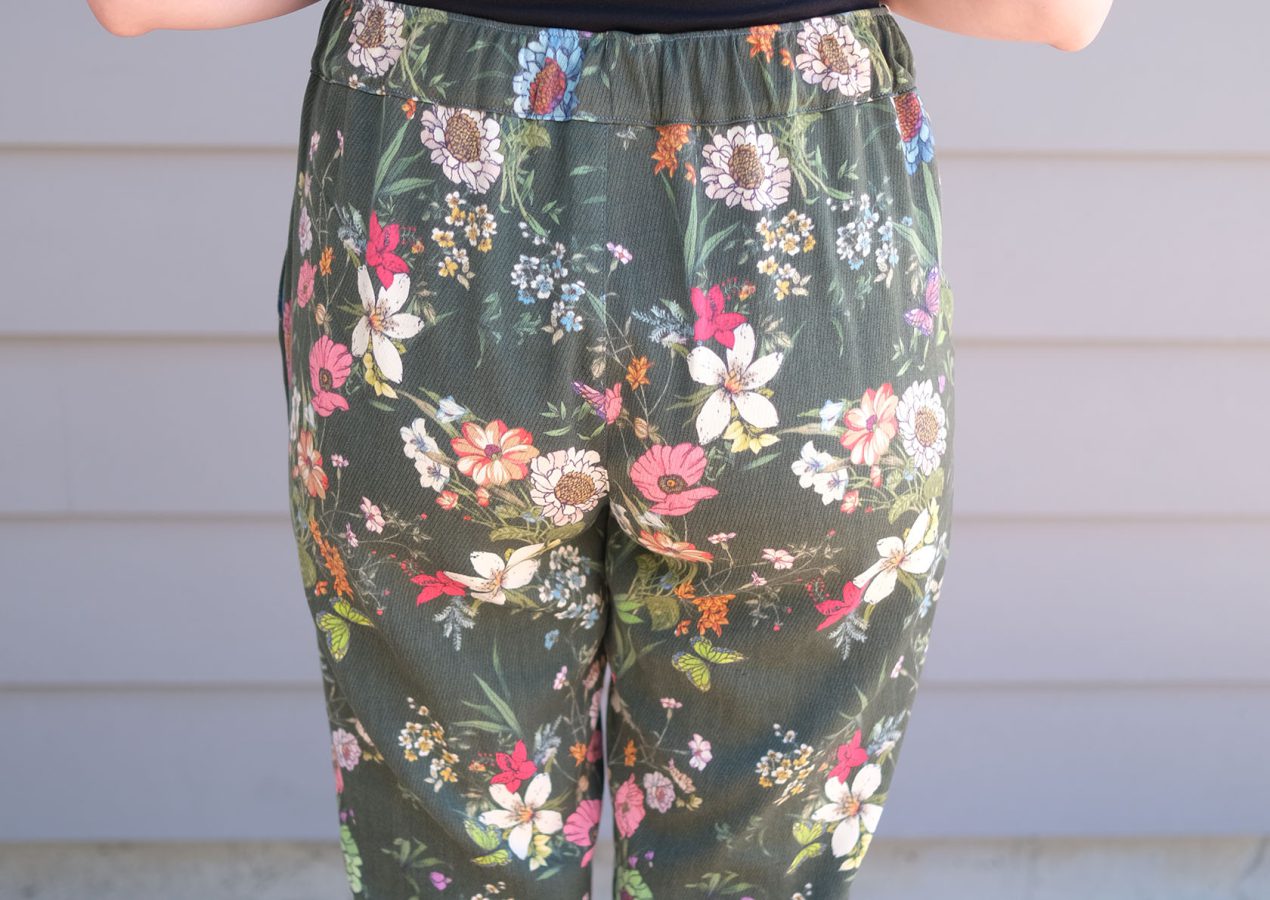
Poppy is designed for woven. The fit in my opinion, is the slimmest you can get with woven pull on to still be comfortable to pull on and off. It tapers down so overall it looks slim. If you like slim pants, and want to make woven pull-ons, this will be your best choice so far.
It has a flat front waistband, and the elastic is in the back only. You really don’t need that much extra fabric. As long as the waist’s max length is more than your hip, you can pull it on. The waist looks like a normal pants with waistband from the front, with the ease of elastic pull-on. Overall it looks great. I’d be comfortable wearing it with short tops to reveal the waistband.
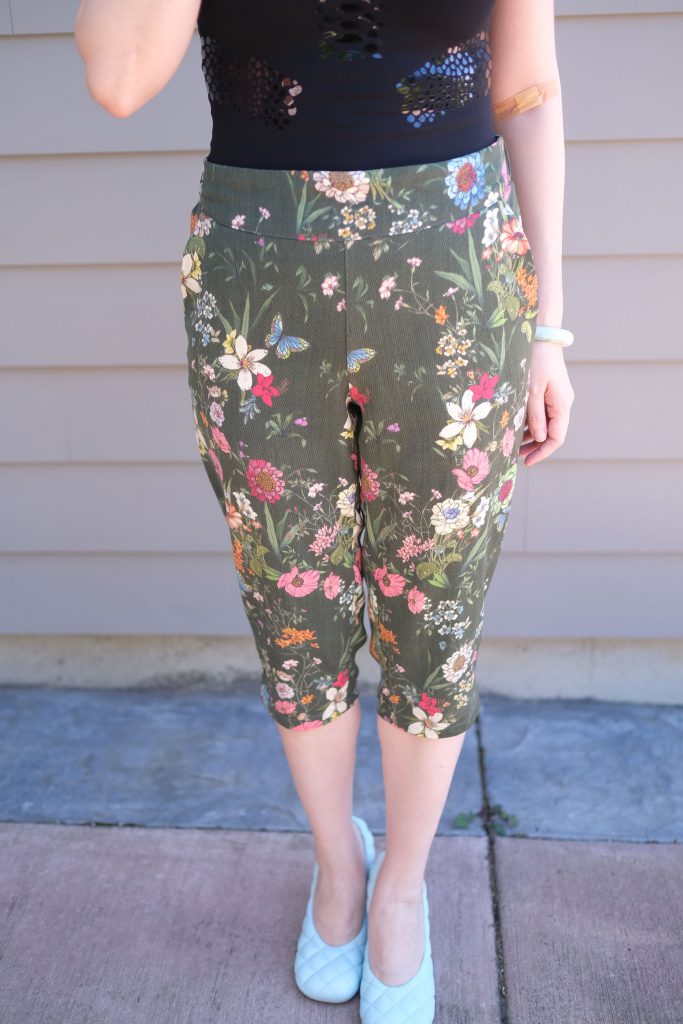
The Instruction and Construction
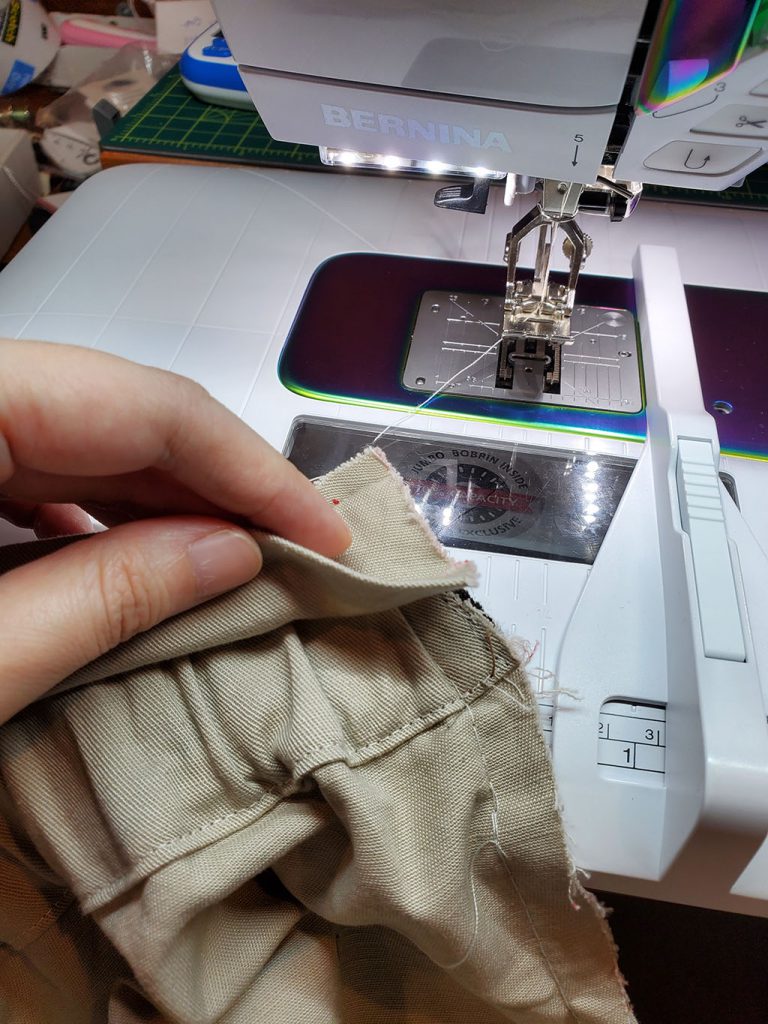
The instruction is clear and easy to follow. It has two options to sew the crotch and leg seams. The regular way with top stich, or using lapped seam which will make the pants completely symmetric – normal top stich will be on one side of the central seam so the distance to the two back pockets will differ and quite noticeable. If you plan to make back pockets, I strongly suggest you use lap seam (a.k.a. flat-felled seam) at least for the crotch. You can follow Sinclair’s instruction which has the look of a lapped seam, or you can do the real lapped seam which has both lines of stitches over four layers of fabric. I did that with a Bernina #71 lap foot which I used with jeans. I used regular seam in the green pair as the fabric is quite light-weighted.
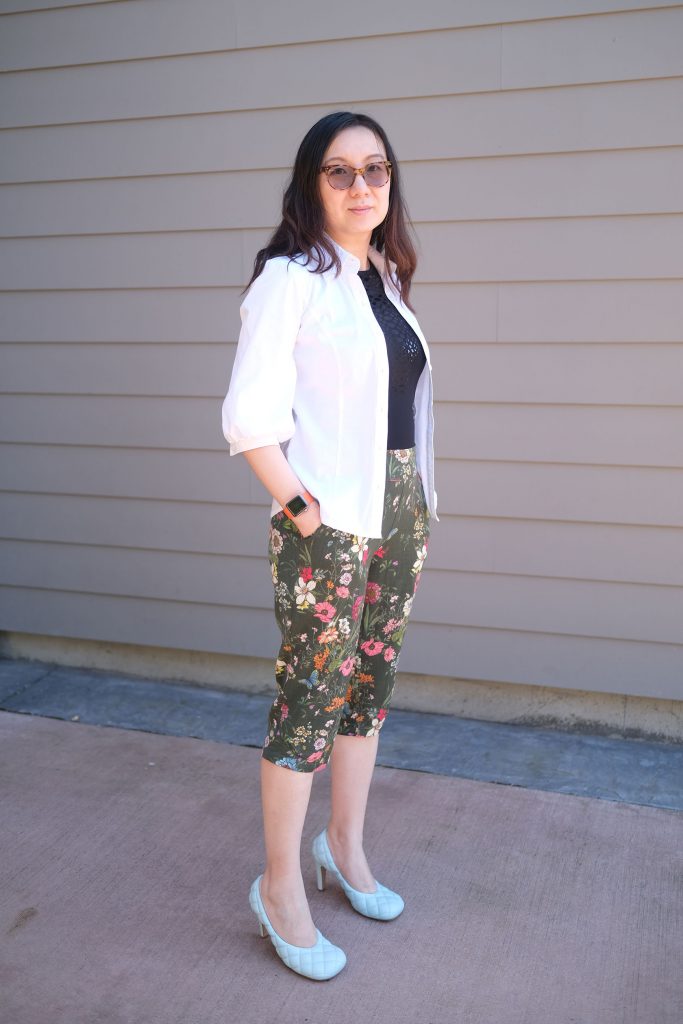
The Poppy has no zipper, no buttons. It’s very easy to sew. I like Sinclair’s way of installing the waistband. It’s slightly different from others with Oxana’s own tips. I’m not going to list it here, but let me just say it can guarantee you to catch the turned down edge when top stich from the right side of fabric (back piece). And you don’t need to baste. Front piece is like the others but there shouldn’t be a problem.
The instruction also has steps to let you adjust the elastic before setting things in stone. I ended up cutting 1″ from the suggested length. This depends on the shape of your waist, and also the elastic. My front waist is longer than the back due to full tummy, therefore the half length would be too long.
Overall construction is great, and I discovered some tricks that I can save the hand stich steps – it’s only the width of the waistband so it’s not a big deal either way. So instead of ironing the side seams to the back, I iron them to the front, so that the elastic raw edge can be covered within the front waist band. You open the front waist band and align them – you should have basted them already in the last step.
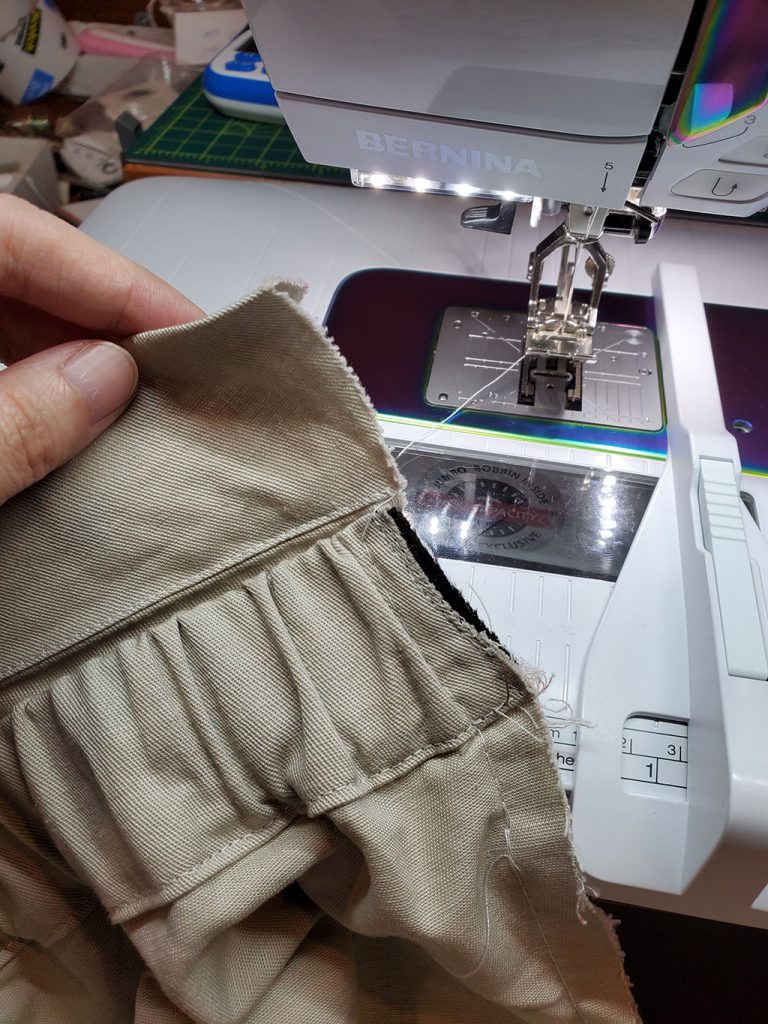
Now turn the far side of the front waistband over to sandwich the back band. Carefully align the seams with your pressed crease. Stitch with your machine using your normal seam allowance. better to be beyond your baste line so that you don’t need to unpick it. Turn it over and it’s done – you can then do the front waistband top stitch to finish it. All my three pairs used this way. And you can see the end result in my pictures.
Summary
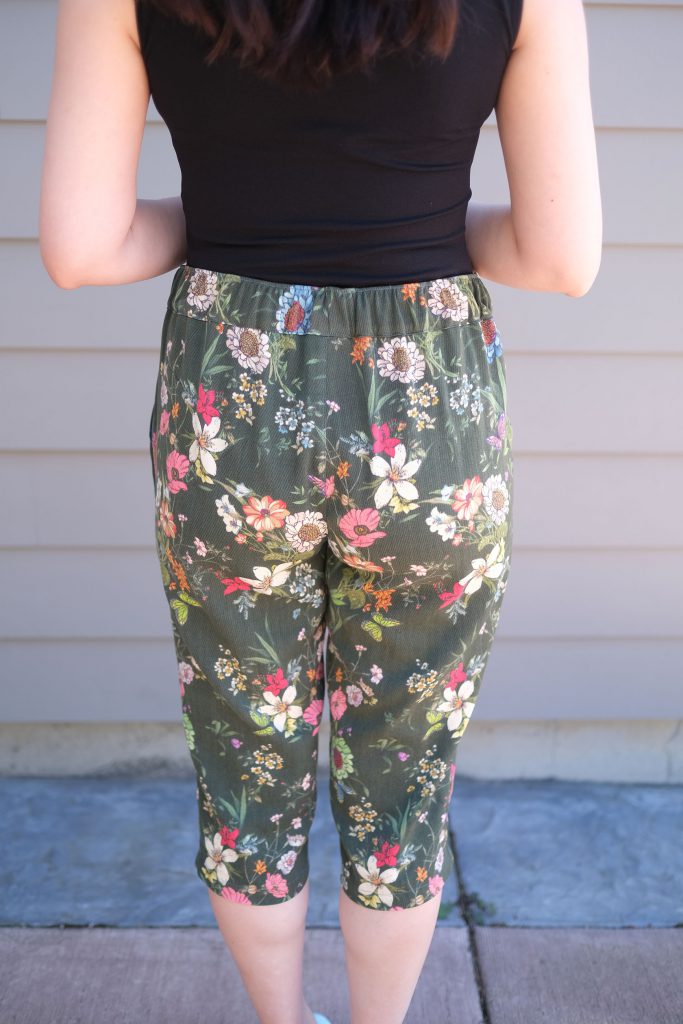
Highly recommend. 5/5.
I’ve been wearing them the whole week and got many compliments – I’ve been only out twice. They feel comfortable and they look great. They are also easy to make. If you are interested, visit sinclair.com to get yours!
As stated in the beginning, I got the pattern for free but the opinion is true and all mine.
180 kamagra livré le samedi
générique kamagra sans ordonnance
generique kamagra distribuer ces
order enclomiphene cost insurance
Buy enclomiphene on line no perscription
online order enclomiphene generic when will be available
canadian pharmacy generic androxal
order androxal cheap where
buy androxal canada medicine
online order flexeril cyclobenzaprine australia online no prescription
flexeril cyclobenzaprine for sale
how to order flexeril cyclobenzaprine usa cheap
how to order gabapentin generic in canada
how to order gabapentin usa drugstore
buying gabapentin cheap pharmacy
buy fildena cost without insurance
buy fildena usa drugstore
buy cheap fildena price for prescription
online order staxyn low cost
cheap staxyn cheap from usa
order staxyn generic version
buy cheap xifaxan generic in canada
ordering xifaxan price australia
buy cheap xifaxan cheap canada
kamagra online s dodáním již na druhý den
online objednávka kamagra
kanadská lékárna kamagra online